
ブロックの配置
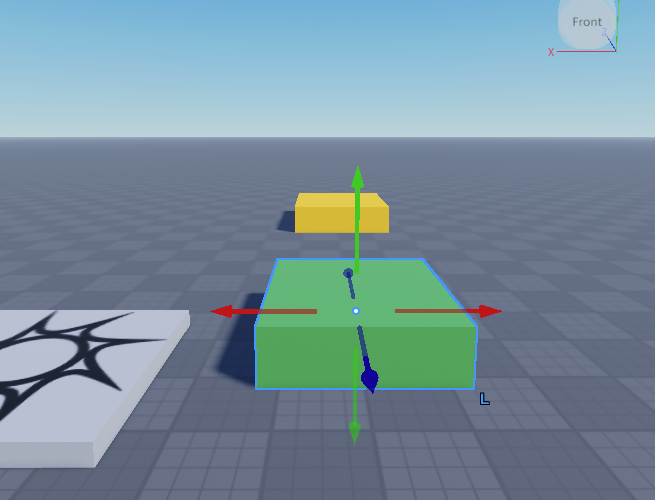
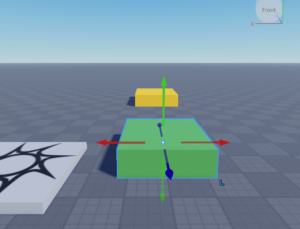
Baseplateを開いてBlockを2個配置します。
それぞれのブロックの名前を Start と Goal にします。
Start と Goal がわかるように色を変えて塗ります。
ここでは Start を緑、Goal を黄色にしてみました。
ちなみに、編集とプレイは、
- 編集モード:カメラ操作(視点が動く)
- プレイモード:キャラクター操作(自分が動く)
と理解するのが良さそうです。
ブロックにスクリプトを書く
Start ブロックにスクリプトを書きます。
script.Parent.Touched:Connect(function(hit)
	local player = game.Players:GetPlayerFromCharacter(hit.Parent)
	if player then
		print("Start!")
	end
end)
Goal ブロックにも同様にスクリプトを書きます。
script.Parent.Touched:Connect(function(hit)
local player = game.Players:GetPlayerFromCharacter(hit.Parent)
if player then
print("Goal!")
end
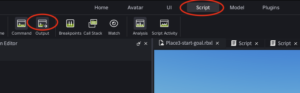
end)Scriptタブを選択してOutputウインドウを表示する。
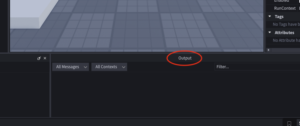
Playモードでキャラクターを動かして、Start ブロック、Goal ブロックに触れると Outputウインドウにメッセージが出力されることが確認できればOKです。